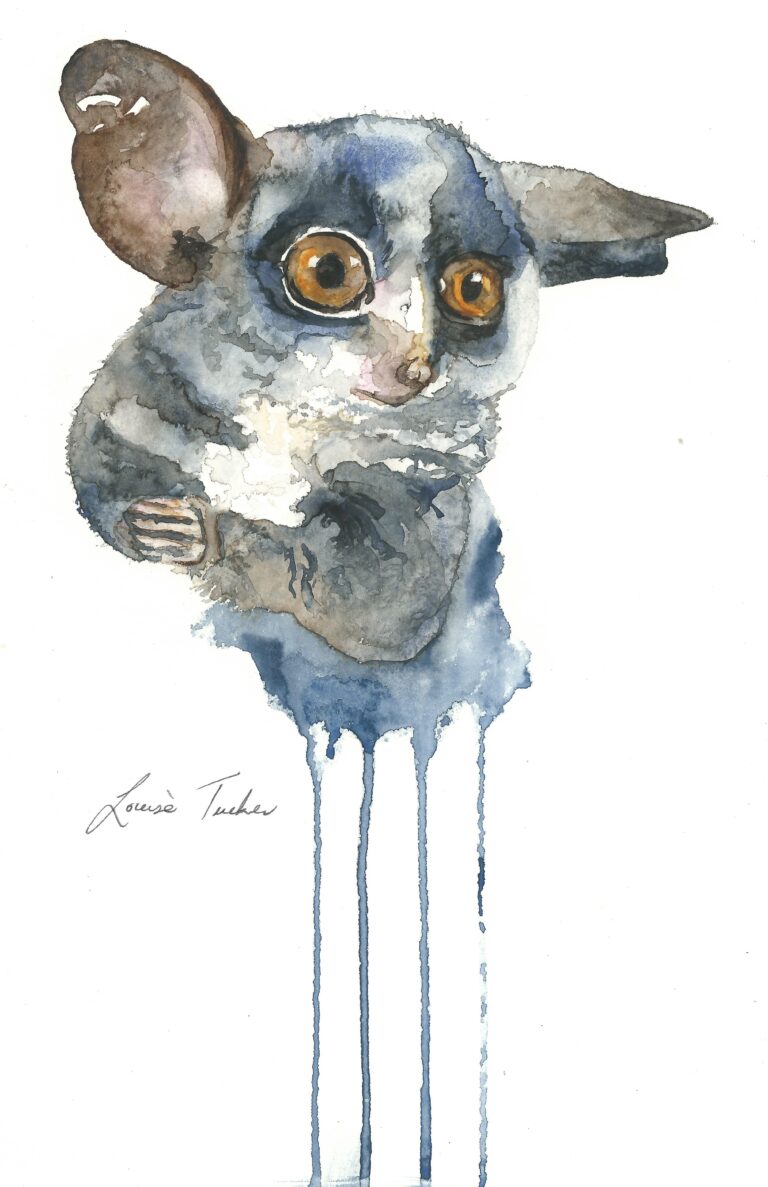
This cutest of pups was painted using the following watercolour paints (all Winsor & Newton Cotman range):
– Payne’s Gray
– Ivory Black
– Yellow Ochre
– Raw Umber
– Vandyke Brown
– Alizarin Crimson Hue
I used A4 300gsm Acid-free watercolour paper.
Step 1: The drawing outline
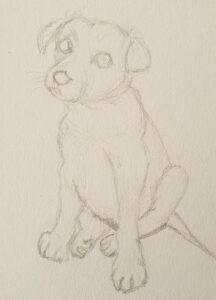
With watercolours, I believe it’s important to have a good underlying drawing. Although it’s not essential to draw in intense detail as the paints will add the shadow and highlight areas, it is necessary to get the proportions correct. Remember that it is very difficult and often impossible to do this later. Watercolours are not very forgiving in this way like oils or acrylics would be, so spend a little extra time making sure you are happy with the drawing before you move to the next step.
Step 2: Begin painting from the top
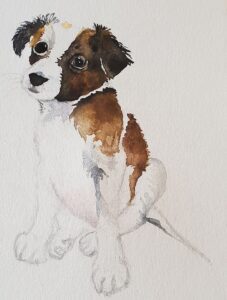
Work from top to bottom with your paint application. I started on the right hand side (I am left-handed though), painting the dark ear and then moving down through the browns of the fur allowing these to mix together. Remember to leave the white parts white by not applying any paint to the paper in those areas.
Step 3: Add the detail to the paws and belly
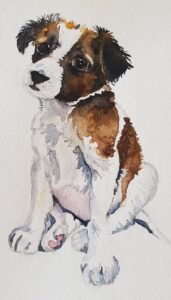
Allow your watercolour to dry completely, and then continue working on the paws and the belly. I used a diluted version of Alizarin Crimson to paint the belly and the bottom of the one paw. Most of the other work on the paws, belly and tail is solely in variants of Payne’s Gray. I tried to add the feeling of the white fur as I painted by forming fur-like shapes in the paint, as I didn’t want to use too much white acrylic in the final painting for this purpose.
Step 4: Detail of eyes and face
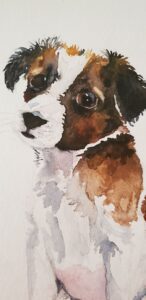
Spend as much time as possible on the eyes and face of the puppy. The eyes in particular are the focus of this painting and need to be as soft and appealing as possible. Note the highlights left in both eyes and the lighter parts of fur around the eyes. I also “lifted” some paint off around the top of both eyes with toilet paper to add a softness to the face.
Step 5: Continuing strengthening the shadows in the body
Re-look at your painting and add the shadows and definition to the body and paws. These shadows are vital in helping your finished work to take on a three dimensional view. Otherwise, it will appear flat and lifeless. Also add shadows under the face to make it the focus for the viewer.
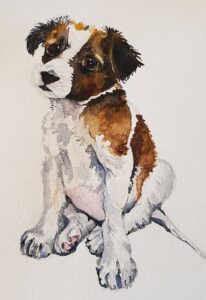
Step 6: Add the final details

Once you are satisfied with the shadows, look to the final details. Add the whiskers and finalise the muzzle. Use some white acrylic to add white “fur” in places where you think it should stand out. I recommend a very limited use of this using a very fine brush. (It does have a tendency to appear yellowish on the white paper). Now you are finished! Add your million dollar and you’ve completed your painting of a puppy.